The Honeywell TH6220U2000 is a programmable thermostat offering precise temperature control for HVAC systems. It features customizable scheduling, energy-saving modes, and compatibility with diverse heating and cooling setups.
1.1 Overview of the Thermostat Features
The Honeywell TH6220U2000 thermostat offers advanced features for efficient temperature control. It includes programmable scheduling, allowing users to set custom heating and cooling cycles. The thermostat features a backlit touchscreen display for easy navigation and adjustments. It is compatible with a wide range of HVAC systems, including single-stage and multi-stage configurations. Energy-saving modes and smart fan operation enhance comfort while reducing energy consumption. Additional features include air filter reminders, battery replacement alerts, and adaptive recovery technology to reach desired temperatures efficiently. These features make it a versatile and user-friendly solution for maintaining optimal indoor climate conditions year-round.
1.2 Importance of Proper Installation
Proper installation of the Honeywell TH6220U2000 thermostat is essential for ensuring optimal performance and safety. Incorrect wiring or setup can lead to malfunction, inaccurate temperature control, or even system damage. A correct installation guarantees precise temperature regulation, energy efficiency, and compatibility with your HVAC system. It also prevents potential safety hazards related to electrical components. Additionally, proper installation ensures compliance with manufacturer guidelines, preserving the product warranty. For best results, follow the installation manual or consult a licensed technician to avoid issues and maintain the thermostat’s advanced features. This step is crucial for enjoying reliable and efficient heating and cooling throughout the year.
Pre-Installation Requirements
Verify system and electrical compatibility. Gather tools, such as screwdrivers and wire strippers. Ensure power is turned off at the circuit breaker before starting the installation process.
2.1 Understanding System Compatibility
Ensure the Honeywell TH6220U2000 is compatible with your HVAC system. It supports 2- or 4-wire setups, including heat pumps, gas, electric, and oil systems. Verify voltage requirements, typically 24VAC. Check if auxiliary heat is needed for certain configurations. Reference the manual for specific wiring diagrams and system types. Compatibility ensures proper operation and avoids installation issues. Always match the thermostat settings with your system’s capabilities for optimal performance and energy efficiency. Proper compatibility verification prevents malfunctions and ensures safe operation. Use the provided compatibility chart in the manual to confirm suitability before proceeding.
2.2 Gathering Necessary Tools and Materials
To install the Honeywell TH6220U2000 thermostat, gather essential tools and materials. You will need a screwdriver (both Phillips and flathead), wire strippers, pliers, and a drill for wall mounting. Ensure you have the provided mounting screws, wall anchors, and adhesive-backed foam for leveling. Bring a voltage tester to confirm power is off before wiring. Label the existing wires with the supplied stickers to avoid confusion. Refer to the installation manual for specific materials included in the package. Having all tools and materials ready ensures a smooth and efficient installation process. Double-check compatibility with your HVAC system before starting.
Installation Process
The installation involves preparing the system, mounting the thermostat, connecting wires, and powering on. Follow step-by-step instructions to ensure proper setup and functionality of the device.
3.1 Preparing the System for Thermostat Installation
Begin by turning off the power to your HVAC system at the circuit breaker. Remove the old thermostat and take note of the wiring connections. Clean the area around the wall plate. Ensure the system is compatible with the Honeywell TH6220U2000. For hydronic systems, drain the system if necessary. Check if wall anchors are needed and gather tools like a screwdriver and voltage tester. This preparation ensures a safe and smooth installation process for your new thermostat.
3.2 Mounting the Thermostat on the Wall
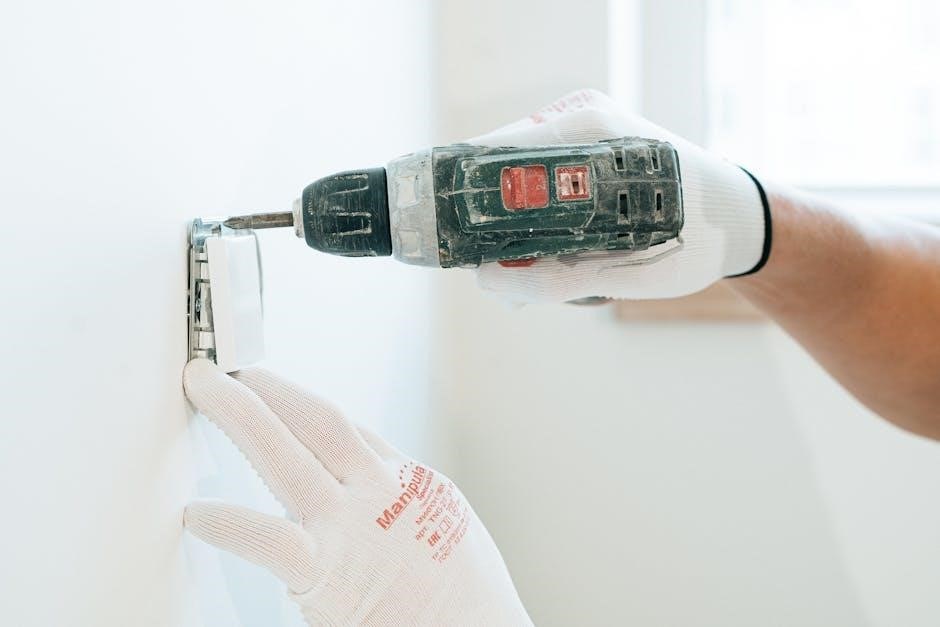
To mount the Honeywell TH6220U2000 thermostat, start by ensuring the wall is level and clear of debris. Use the provided wall plate as a template to mark screw holes. Drill pilot holes if necessary, especially for concrete or brick walls, and insert wall anchors for stability. Screw the wall plate firmly into place, ensuring it is straight. Attach the thermostat unit to the wall plate by aligning the tabs and gently snapping it into position. Double-check that the thermostat is level and securely fastened. This ensures proper installation and functionality; Make sure all connections are accessible for the next steps.
3.3 Connecting the Wiring to the Thermostat
Connecting the wiring to the Honeywell TH6220U2000 thermostat requires careful attention to ensure proper functionality. Begin by matching each wire to its corresponding terminal, typically labeled as R, W, Y, G, C, and possibly others, depending on your HVAC system. The R wire connects to the 24V power supply, W to heating, Y to cooling, G to the fan, and C to the common wire. Secure each wire firmly to its terminal using a screwdriver. If your system requires a jumper wire, ensure it is properly connected. Double-check all connections for accuracy and tightness. Once connected, restore power and test the thermostat to confirm everything operates correctly. Proper wiring ensures safe and efficient operation of your HVAC system.
3.4 Finalizing the Installation and Power-On
After completing the wiring connections, restore power to the system by switching the circuit breaker or fuse box. Allow the thermostat to power on and perform its self-test. Review the display to ensure all functions operate correctly. Navigate through the menu to confirm that heating, cooling, and fan modes activate properly. Test the thermostat by adjusting the temperature setpoints to verify the system responds accurately. Check for any error messages or unusual behavior. If everything functions as expected, the installation is complete. Finally, discard any packaging materials and store the installation manual for future reference. Proper finalization ensures reliable performance.
Configuring the Thermostat
Configure the thermostat by navigating through initial setup options, programming schedules, and adjusting advanced settings for optimal performance and energy efficiency.
4.1 Initial Setup and Configuration Options
The initial setup of the Honeywell TH6220U2000 involves powering on the thermostat and navigating through basic configuration options. Upon first use, you’ll be prompted to set the date, time, and temperature units (Fahrenheit or Celsius). Additionally, you’ll need to configure system settings, such as selecting the type of heating and cooling equipment installed in your home. Advanced configuration options, like programmable schedules and fan operation settings, can be accessed by pressing and holding specific buttons for a few seconds. This step ensures the thermostat is tailored to your HVAC system and preferences for optimal performance and energy efficiency.
4.2 Programming the Thermostat Schedule
Programming the Honeywell TH6220U2000 thermostat allows you to create a customized schedule that aligns with your daily routine. You can set different temperature levels for specific times of the day, such as waking up, leaving home, returning, and sleeping. The thermostat supports both weekday and weekend schedules, enabling flexibility. To program, navigate to the schedule menu, select the day(s), and choose the desired temperature setpoints for heating and cooling. This feature ensures energy efficiency by automatically adjusting temperatures when you’re not home or when you’re sleeping, helping you save on utility costs while maintaining comfort.
4.3 Adjusting Advanced Settings for Optimal Performance
Adjusting advanced settings on the Honeywell TH6220U2000 thermostat enhances its performance and efficiency. Features like temperature differential, cycle rate, and smart recovery can be fine-tuned to optimize heating and cooling cycles. The temperature differential setting adjusts how much the system deviates from the setpoint before activating, while cycle rate controls how frequently the system runs. Smart recovery learns your schedule to pre-cool or pre-heat, ensuring the desired temperature is reached by the set time. Additionally, you can enable energy-saving modes or adjust the thermostat’s sensitivity for better comfort. These settings ensure the thermostat operates efficiently while maintaining your preferred indoor conditions.

Maintenance and Troubleshooting
Regular maintenance ensures optimal performance of the Honeywell TH6220U2000 thermostat. Clean the device, check wiring connections, and replace batteries as needed. Troubleshooting common issues like display malfunctions or connectivity problems can often be resolved by resetting the thermostat or consulting the user manual. Advanced features allow for factory resets to restore default settings, ensuring reliability and efficiency in temperature control.
5.1 Regular Maintenance Tips
Regular maintenance is essential to ensure the Honeywell TH6220U2000 thermostat operates efficiently. Clean the device with a soft cloth to remove dust and debris. Check and tighten all wiring connections to prevent signal interference. Replace batteries annually or as indicated by low-battery alerts. Inspect the HVAC system filters and replace them as needed to maintain proper airflow. Periodically review and update the programmed schedule to align with lifestyle changes or energy-saving goals. Additionally, ensure the thermostat is level on the wall to maintain accurate temperature readings. Regular maintenance helps extend the lifespan of the thermostat and ensures consistent performance.
5.2 Common Issues and Solutions
Common issues with the Honeywell TH6220U2000 thermostat include incorrect temperature readings, display malfunctions, or unresponsive controls. For temperature inaccuracies, ensure the thermostat is level on the wall and free from drafts. If the display is blank, check the power source or batteries. For unresponsive controls, restart the thermostat by removing and reinstalling the batteries. Connectivity issues with smart features may require resetting the Wi-Fi connection. If problems persist, refer to the troubleshooting section in the manual or contact Honeywell support for assistance. Regular maintenance and updates can prevent many of these issues and ensure optimal performance.
5.3 Resetting the Thermostat to Factory Settings
Resetting the Honeywell TH6220U2000 thermostat to factory settings can resolve persistent issues or prepare it for a new installation. To reset, press and hold the “Menu” and “Back” buttons simultaneously for 5 seconds. The display will indicate a factory reset is in progress. This process will erase all custom settings, schedules, and configurations. After the reset, the thermostat will restart with default settings. Ensure all wiring is correctly connected before proceeding with reconfiguration. If unsure, consult the installation manual or contact Honeywell support for further assistance. Resetting should only be done when necessary, as it will require reprogramming the thermostat from scratch.
Technical Specifications and References
The Honeywell TH6220U2000 operates on 24V AC, supporting multi-stage HVAC systems. Refer to the installation manual for detailed electrical ratings, compatibility, and safety guidelines. Always follow manufacturer recommendations for optimal performance and compliance with safety standards.
6.1 Electrical Ratings and Safety Information
The Honeywell TH6220U2000 thermostat operates on a 24V AC system, ensuring compatibility with most HVAC setups. It is designed to handle a maximum current draw of 1.0VA, making it energy-efficient. For safety, the thermostat features high-temperature limits and automatic circuit protection. Proper grounding is essential to prevent electrical hazards. Users must ensure all wiring meets local electrical codes and regulations. Avoid exposing the device to direct moisture or extreme temperatures. Always disconnect power before servicing. Refer to the installation manual for detailed specifications and safety precautions to ensure safe and reliable operation. Follow manufacturer guidelines to maintain compliance with electrical safety standards.
6.2 Manufacturer Recommendations and Support
Honeywell emphasizes proper installation by licensed professionals to ensure optimal performance and safety. The manufacturer provides comprehensive support, including detailed installation manuals, troubleshooting guides, and customer service. Users can access online resources, such as video tutorials and FAQs, for assistance. Regular software updates are recommended to maintain functionality. Honeywell offers a limited warranty covering defects in materials and workmanship. For technical issues, contact Honeywell’s customer support team directly via phone or email. The manufacturer also advises registering the product for warranty validation and updates. Always refer to Honeywell’s official website for the most accurate and up-to-date information and support services.