
Welcome to the Sony FX9 Manual, your comprehensive guide to mastering this powerful camera. Designed for filmmakers and professionals, this manual explores the FX9’s features, setup, and advanced capabilities to help you unlock its full potential.
1.1. Overview of the Sony FX9 Camera
The Sony FX9 is a high-end digital cinema camera designed for professional filmmakers and content creators. It combines exceptional 4K and HDR capabilities with a full-frame sensor, delivering stunning imagery. The camera features a modular design, allowing for customization to suit various production needs. With advanced autofocus, robust build quality, and seamless integration with Sony’s ecosystem, the FX9 is a versatile tool for capturing cinematic excellence in diverse environments, from documentaries to feature films.
1.2. Importance of Understanding the Manual
Understanding the Sony FX9 manual is crucial for unlocking the camera’s full potential. It provides detailed insights into operation, customization, and troubleshooting, ensuring efficient use. By mastering the manual, filmmakers can optimize workflows, avoid errors, and achieve high-quality results consistently. This guide empowers users to explore advanced features, streamline settings, and maintain the camera properly, making it an indispensable resource for professionals seeking to elevate their storytelling and cinematic craftsmanship.
Unpacking and First Impressions
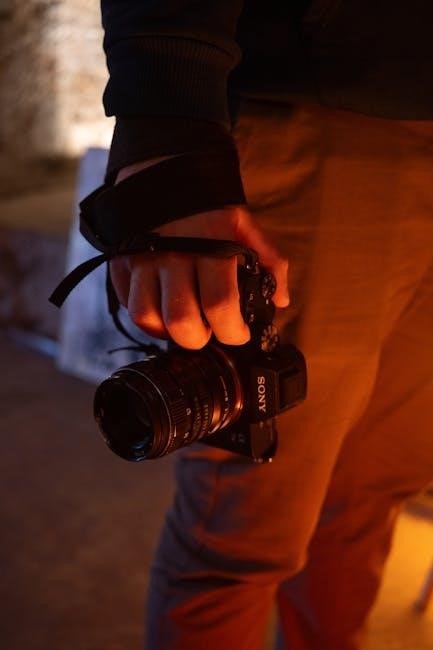
Unpacking the Sony FX9 reveals a sturdy, professional camera with a premium feel. The initial experience is exciting, offering a glimpse into its advanced capabilities and ergonomic design, ready for creative exploration.
2.1. What’s Included in the Box
Inside the box, you’ll find the Sony FX9 camera body, the FX9 viewfinder, a BP-U35 battery, a BC-U1 battery charger, a power cord, and an AC adapter. Depending on the kit, a lens may also be included. Additionally, the box contains a grip remote control, a lens cap, and a shoulder strap for easy handling. Documentation such as the user manual and quick start guide are also provided. Ensure all items are accounted for, as contents may vary by region or kit configuration. Always verify with the official Sony website for specific inclusions.
2;2. Initial Setup and Battery Charging
Begin by inserting the BP-U35 battery into the camera body, ensuring it clicks securely into place. Next, charge the battery using the provided BC-U1 charger. Connect the charger to a power source and allow the battery to charge fully, indicated by the charger’s LED turning green. Once charged, power on the camera to access the initial setup menu. Here, you’ll set your language, date, and time preferences. Familiarize yourself with the camera’s basic functions before proceeding to more advanced settings. Always refer to the manual for detailed charging and setup instructions.

Key Features of the Sony FX9
The Sony FX9 excels with 4K HDR video, a full-frame sensor, and advanced autofocus, delivering exceptional image quality, dynamic range, and focusing precision for professional cinematography.
3.1. 4K and HDR Capabilities
The Sony FX9 captures stunning 4K resolution at 120fps, ensuring smooth and detailed footage. Its High Dynamic Range (HDR) capabilities, including HDR10 and HLG, deliver enhanced contrast and color accuracy, creating a more immersive viewing experience. These features allow filmmakers to produce content with greater depth and vibrancy, making the FX9 ideal for high-end productions. The camera’s ability to shoot in multiple formats and frame rates further enhances its versatility for various cinematic and broadcast applications.
3.2. Full-Frame Sensor and Autofocus
The Sony FX9 features a full-frame sensor, delivering exceptional low-light performance and shallow depth of field for cinematic results. Its advanced autofocus system, powered by phase-detection technology, ensures precise and rapid subject tracking. With customizable focus transitions and face detection, the FX9 excels in dynamic shooting scenarios. This combination of sensor quality and AF accuracy makes it a standout choice for capturing professional-grade video with ease and reliability, even in challenging lighting conditions.
Getting Started with the Sony FX9
Welcome to the Sony FX9! This section guides you through the initial steps of unboxing, assembling, and performing a quick system check to ensure everything functions properly.
4.1. Assembling the Camera
Assembling the Sony FX9 is straightforward but requires care. Attach the handle and grip using the provided Allen wrench, ensuring all screws are securely tightened. Next, mount the lens, making sure it clicks into place firmly. If using an external viewfinder or accessories, connect them according to the manual’s guidelines. Double-check all connections to avoid damage or poor performance. Finally, perform a quick system check to ensure all components are functioning correctly before starting your shoot.
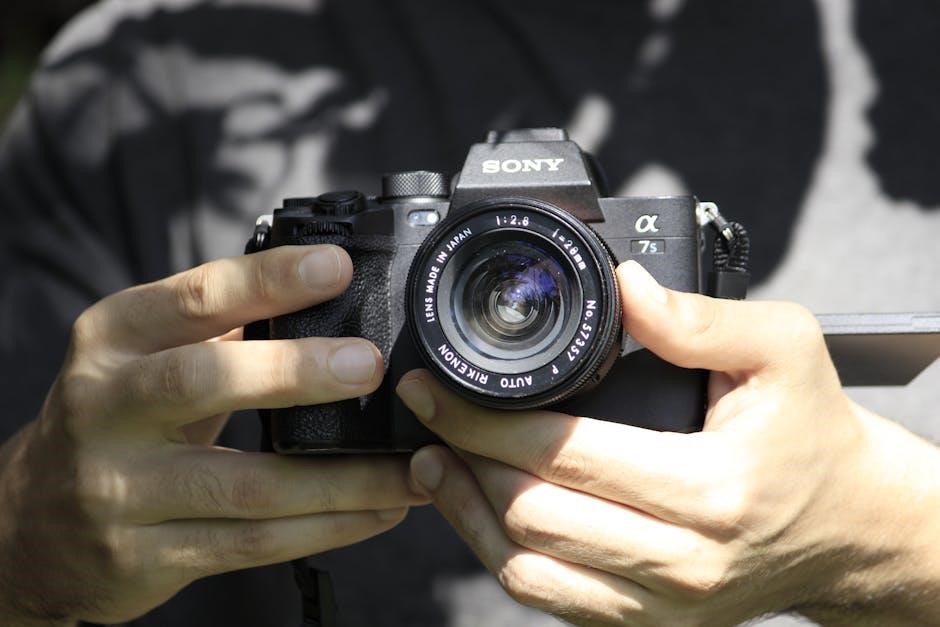
4.2. Basic Controls and Layout
Familiarize yourself with the Sony FX9’s ergonomic design. The mode dial on top allows quick switching between recording modes. The record button and zoom rocker are conveniently located on the grip for easy access. The multi-function grip also provides direct access to key settings like white balance and ISO. The LCD screen and viewfinder offer clear monitoring options. Lens controls, including the iris ring, are positioned for intuitive manual adjustments. The button layout is designed for efficient operation, minimizing menu diving and maximizing creative control during shoots.
Understanding the Menu System
Welcome to the Sony FX9 menu system. This comprehensive, user-friendly interface is organized into logical categories for quick access to camera settings, enhancing your filming efficiency.
5.1. Navigating the Menu
Navigating the Sony FX9 menu is straightforward and intuitive. Use the joystick or touch screen to scroll through categories like Image, Audio, and Network. Submenus provide detailed settings for customization. The menu is divided into logical sections, making it easy to locate specific options. Press the MENU button to exit or return to the home screen. This user-friendly design ensures quick access to settings, allowing you to focus on your creative workflow without unnecessary delays.
5.2. Customizing the Menu for Efficiency
The Sony FX9 allows extensive menu customization to streamline your workflow. Use the My Menu feature to save frequently accessed settings, reducing navigation time. Assign custom buttons to functions like ISO, white balance, or ND filters for quick adjustments. Additionally, create custom LUTs and store them in the FX9 for easy access during shoots. This level of personalization ensures you can tailor the camera to your specific needs, enhancing productivity and focus on creative decisions.
Audio and Monitoring
The Sony FX9 offers robust audio and monitoring capabilities, ensuring high-quality sound capture and precise visual feedback. Utilize built-in XLR inputs and optional external devices for professional-grade audio recording.
6.1. Built-In Audio Options
The Sony FX9 features dual XLR inputs, allowing for high-quality audio capture directly to the camera. It supports 24-bit/48kHz recording, ensuring clear and professional sound. The camera also includes a built-in stereo microphone for convenient capture of ambient audio. For enhanced control, audio levels can be monitored via the LCD screen and adjusted using the dedicated audio dial. Additionally, the FX9 supports optional XLR-K3M adapters, expanding connectivity for external microphones and audio devices. This flexibility ensures that filmmakers can achieve superior sound quality effortlessly.
6.2. External Monitoring Solutions
The Sony FX9 supports external monitoring via HDMI, enabling real-time preview on larger screens. The camera outputs 4K or HD signals, ensuring accurate color and detail. For professional setups, the FX9 also features an SDI output, providing a robust connection for high-end monitors. Additionally, LUTs can be applied to external outputs, allowing filmmakers to preview graded footage. Optional external recorders can also be connected, expanding the camera’s versatility for high-quality monitoring and recording workflows on set.

Advanced Settings and Customization
Explore the FX9’s advanced customization options, including custom LUTs, user buttons, and detailed parameter adjustments. Tailor the camera to your workflow for enhanced creativity and efficiency.
7.1. Custom LUTs and Color Grading
Custom LUTs (Look-Up Tables) enable precise color grading on the Sony FX9. Load predefined LUTs for consistent looks or create your own to match specific creative visions. The FX9 supports S-Log and S-Gamut profiles, allowing for seamless integration with Sony’s color science. Apply LUTs during monitoring or recording for real-time preview, ensuring your footage aligns with your artistic intent. This feature is ideal for filmmakers seeking professional-grade color accuracy and flexibility in post-production workflows.
7.2. Configuring User Buttons
The Sony FX9 allows customization of user buttons to streamline your workflow. Assign frequently used functions like white balance, ISO, or zoom controls to the assignable buttons for quick access. Navigate to the camera menu, select the desired button, and choose from a variety of assignable functions. This feature enhances efficiency, enabling you to tailor the camera to your shooting style. Save time during production by having essential controls at your fingertips, ensuring a smoother and more intuitive filming experience.

Maintenance and Troubleshooting
Regular maintenance and troubleshooting are crucial for optimal performance of the Sony FX9. Clean the sensor, check for firmware updates, and address common issues promptly to ensure reliability.
8.1. Cleaning and Caring for the Camera
Regular cleaning and proper care are essential to maintain the Sony FX9’s performance. Use a soft, dry cloth to wipe the exterior and lens. For the sensor, use a specialized cleaning brush or swabs with extreme caution. Avoid touching the sensor surface to prevent smudges or damage. Store the camera in a cool, dry place away from direct sunlight. Never use canned air, as it may damage internal components. Regular inspections and professional servicing can prevent long-term issues and ensure optimal functionality.
8.2. Common Issues and Solutions
The Sony FX9 may occasionally encounter issues like error messages or sensor cleaning problems. If an error occurs, restart the camera or update the firmware. For sensor smudges, use a cleaning swab with caution. Battery life concerns can be addressed by adjusting power settings or using high-capacity batteries. Overheating is rare but can be prevented by using the optional fan or shooting in well-ventilated areas. Always refer to Sony’s support resources for troubleshooting specific problems and ensuring optimal performance.
Tips and Tricks for Optimal Use
Plan shots meticulously, utilize built-in stabilization, and explore creative autofocus modes. Regularly format media cards and organize files for efficient workflow. Experiment with custom LUTs to enhance visuals.
9.1. Maximizing Battery Life
To extend the Sony FX9’s battery performance, ensure batteries are fully charged before use and avoid overcharging. Keep firmware updated for optimal power management. Use the camera’s power-saving mode, disable unnecessary features, and monitor battery health. Store batteries in a cool, dry place and avoid extreme temperatures. Consider using external power sources for extended shoots and always carry spare batteries. Regularly clean battery contacts to maintain reliable connections and avoid sudden power losses during filming.
9.2. Best Practices for Recording
Always format memory cards in the camera before use to ensure compatibility. Shoot in 4K for maximum resolution and use HDR for enhanced dynamic range. Set white balance according to lighting conditions for accurate colors. Use manual focus or advanced autofocus modes for precise control. Monitor audio levels to avoid distortion and organize files by date or project for easy access. Regularly check battery levels and consider using external recorders for backup. Follow these practices to ensure high-quality, reliable recordings every time.
The Sony FX9 Manual has equipped you with the knowledge to harness the camera’s full potential. From its advanced features to everyday usage, this guide has covered it all. By following these tips and best practices, you’ll be able to capture stunning footage with precision and creativity. Keep experimenting, maintaining, and exploring the FX9’s capabilities to ensure it remains your reliable companion for every shoot. Happy filming and remember to always push the boundaries of your storytelling!