
The GE Self-Cleaning Oven is an innovative kitchen appliance designed to simplify cooking and cleaning. This guide provides a comprehensive overview of its features, operation, and maintenance.
1.1 Overview of the GE Self-Cleaning Oven
The GE Self-Cleaning Oven combines advanced cooking technology with a convenient self-cleaning mode, offering a modern solution for home cooks. Designed for efficiency and durability, it features a spacious interior, precise temperature control, and a sleek design. The self-cleaning function uses high heat to burn food residue into ash, simplifying maintenance. This oven is ideal for those seeking a reliable, low-maintenance cooking appliance.
1.2 Key Features and Benefits
The GE Self-Cleaning Oven offers a range of features that enhance cooking and maintenance. Its self-cleaning mode eliminates manual scrubbing, while the precise temperature control ensures consistent results. The oven also includes multiple cooking modes, a digital display, and a large capacity for versatile cooking. Additional benefits include energy efficiency, durable construction, and a sleek design that complements any kitchen decor, making it a practical and stylish addition to your home.

Installation and Setup
Proper installation and setup ensure your GE Self-Cleaning Oven operates safely and efficiently. Follow the manual’s guidelines for positioning, leveling, and connecting electrical and gas components.
2.1 Positioning and Leveling the Oven
Proper positioning and leveling are crucial for your GE Self-Cleaning Oven’s performance and safety. Place the oven on a sturdy, heat-resistant surface, ensuring it is level to prevent uneven heating. Use the adjustable leveling legs to achieve balance. Avoid installing near flammable materials or in areas with high humidity. Always follow the manufacturer’s guidelines for correct positioning to ensure optimal function and safety standards.
2.2 Connecting Electrical and Gas Components
When connecting your GE Self-Cleaning Oven, ensure all electrical and gas components are installed by a qualified technician. The oven requires a dedicated 240V electrical circuit and a natural gas line. Connect the gas supply securely to avoid leaks. Verify all connections meet local safety codes and manufacturer specifications. Turn off the power and gas supply before starting any installation or maintenance to ensure safety. Always follow the provided instructions carefully.
2.3 Initial Setup and Calibration
After installation, perform the initial setup and calibration of your GE Self-Cleaning Oven. Set the clock and ensure the oven is level. Calibrate the temperature using the control panel to match the recommended settings. Run a test cycle at 350°F to verify proper function. Refer to the manual for specific calibration steps to ensure accurate performance and optimal cooking results. This step ensures precise temperature control for all your recipes.
Safety Precautions and Guidelines
Always follow safety guidelines to ensure safe operation of your GE Self-Cleaning Oven. Read the manual thoroughly and adhere to all warnings to prevent accidents and injuries.
3.1 General Safety Tips for Oven Usage
General Safety Tips ensure safe and efficient oven usage. Always preheat the oven with caution, never leave cooking unattended, and use oven mitts to handle hot cookware. Keep children away from the oven while it is in operation. Avoid using abrasive cleaners or harsh chemicals on the exterior or interior surfaces. Regularly inspect racks and shelves for damage. Follow recommended cooking temperatures to prevent food from burning. Never store flammable materials near the oven. Adhere to these guidelines to maintain a safe cooking environment.
3.2 Precautions for Self-Cleaning Mode
Before using the self-cleaning mode, ensure the oven is empty of racks and shelves to prevent damage. Remove large food debris to avoid smoke. Keep the kitchen well-ventilated, as fumes may release during cleaning. Avoid using the self-cleaning feature if pets or children are nearby. Never leave the oven unattended during the cycle. Do not open the oven door until it has cooled slightly, as extreme heat can cause burns. Always follow the manufacturer’s guidelines to ensure safety.

Operating the GE Self-Cleaning Oven
The GE Self-Cleaning Oven offers intuitive controls for seamless operation. Users can easily adjust settings, select cooking modes, and utilize advanced features for precise cooking results.
4.1 Temperature Control and Settings
The GE Self-Cleaning Oven features precise temperature control, allowing for accurate cooking. Users can easily adjust settings via the digital display. The oven offers a wide temperature range, ensuring optimal performance for baking, roasting, and broiling. The advanced heat distribution system provides even cooking results. Adjustments can be made in small increments to meet specific recipe requirements. Always refer to the manual for detailed instructions on calibration and customization.
4.2 Cooking Modes and Functions
The GE Self-Cleaning Oven offers multiple cooking modes to suit various culinary needs. These include conventional baking, convection cooking, slow cooking, and rapid preheat. Each mode is designed to optimize cooking results, ensuring even heat distribution and precise control. The oven also features specialized functions like proofing for bread and defrosting for frozen foods. Users can explore these settings to achieve professional-grade cooking outcomes with minimal effort. Always consult the manual for mode-specific instructions and tips.
4.3 Using the Timer and Clock Features
The GE Self-Cleaning Oven includes a timer and clock for precise cooking control. Set the timer to track cooking durations, ensuring dishes are cooked to perfection. The clock allows you to monitor elapsed time and plan meals efficiently. Use the timer in conjunction with the oven’s preheat function for seamless meal preparation. Always ensure the clock is set correctly for accurate timing. Refer to the manual for detailed instructions on setting and using these features effectively.

The Self-Cleaning Function
The GE Self-Cleaning Oven features an advanced self-cleaning system designed to reduce effort and time spent on maintenance. It eliminates the need for manual cleaning by using high heat to burn food residue, leaving a light ash that is easy to wipe away. This feature ensures your oven remains clean and maintains its appearance over time.
5.1 How the Self-Cleaning Feature Works
The self-cleaning feature uses high heat to burn food residue, turning it into ash. The oven door locks during the cycle, which can reach temperatures of 800°F to 1000°F. This process typically lasts 2-4 hours, depending on soil level. After cooling, simply wipe away the ash with a damp cloth. No harsh chemicals are needed, making it an efficient and safe way to maintain your oven’s cleanliness. Regular use of this feature ensures a hygienic and well-performing appliance.
5.2 Preparing for a Self-Cleaning Cycle
Before starting the self-cleaning cycle, remove all racks, trays, and utensils. Cover the floor with newspaper or a heat-resistant mat to catch ash. Ensure the oven is empty and free from large food particles. Turn off the oven light and open windows for ventilation. Select the appropriate cleaning cycle based on soil level: light, medium, or heavy. Always refer to your manual for specific settings and guidelines.
5.3 Running and Maintaining the Self-Cleaning Mode
Once the self-cleaning cycle starts, the oven door locks, and high heat reduces food residue to ash. Do not open the door during the cycle. After completion, let the oven cool before wiping ash with a damp cloth. Regularly running the self-cleaning mode prevents food buildup and maintains performance. Always follow the recommended cycle times and ensure the oven is empty before starting. This ensures optimal cleaning and longevity.

Maintenance and Upkeep
Regular maintenance ensures optimal performance and longevity of your GE Self-Cleaning Oven. Clean racks, wipe surfaces, and check for wear. Schedule annual professional inspections for best results.
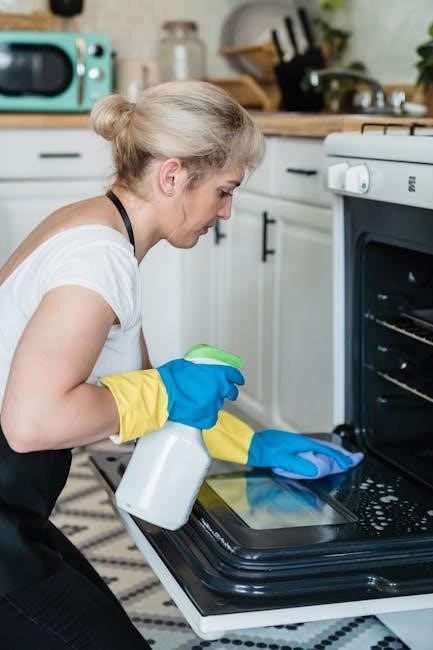
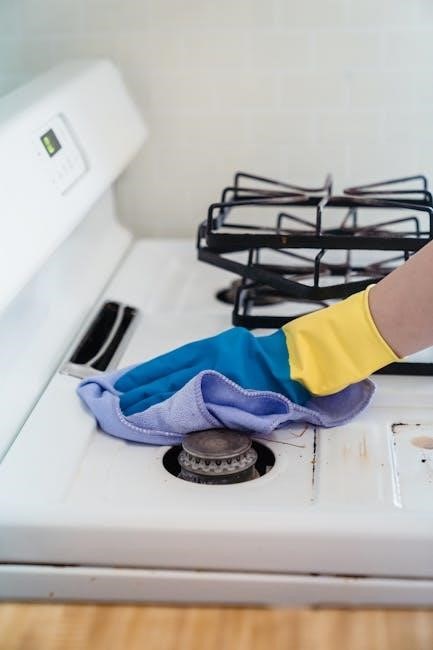
6.1 Cleaning the Exterior and Interior
Clean the exterior with a mild detergent and microfiber cloth, avoiding abrasive materials. For the interior, use the self-cleaning mode or manually wipe with a damp cloth after cooling. Regularly remove food spills to prevent buildup. Always unplug the oven before cleaning for safety. Avoid harsh chemicals, as they may damage surfaces. For racks, soak them in warm soapy water before scrubbing. Cleaning ensures optimal performance and maintains your oven’s appearance.
6.2 Replacing Parts and Filters
Regularly inspect oven parts like racks, light bulbs, and door seals for wear. Replace filters every 1-2 years or as needed. Order genuine GE parts from authorized dealers or the GE website. Before replacing, ensure the oven is cool and unplugged. Use a screwdriver to remove old parts and install new ones securely. Refer to the manual for specific instructions on replacing light assemblies or electronic components. Always align parts correctly to avoid damage. If unsure, consult a professional.
Troubleshooting Common Issues
Identify common problems like error codes, uneven heating, or poor performance. Check installation, power supply, and settings. Consult the manual for solutions or contact GE support.
7.1 Identifying and Resolving Error Codes
Error codes on your GE self-cleaning oven indicate specific issues. Refer to the manual for code meanings. Common codes include F1 (temperature sensor fault) or F3 (heating element failure). Power cycling the oven may resolve temporary glitches. For persistent issues, check connections and ensure proper installation. If problems persist, consult the manual or contact GE customer support for professional assistance. Always follow safety guidelines when troubleshooting.
7.2 Addressing Heating and Performance Problems
If your GE self-cleaning oven isn’t heating properly, check the temperature sensor and ensure the door seal is intact. Verify that the oven preheats correctly and that gas flow (if applicable) is unobstructed. For uneven heating, adjust the racks or ensure proper air circulation. Clean the oven regularly to avoid residue buildup. If issues persist, consult the manual or contact GE support for assistance. Always prioritize safety when troubleshooting.
Energy Efficiency and Cost Savings
The GE Self-Cleaning Oven is designed with energy efficiency in mind, featuring advanced insulation and smart temperature control to reduce energy consumption and lower utility costs.
8.1 Understanding Energy Consumption
The GE Self-Cleaning Oven is designed to be energy-efficient, with features like advanced insulation and optimized heating elements to minimize energy usage. The oven’s smart sensors help maintain consistent temperatures, reducing unnecessary energy consumption. Additionally, the self-cleaning mode uses high heat to burn food residue but is programmed to manage energy efficiently. Understanding these features can help you operate the oven in a cost-effective manner. Regular maintenance, such as cleaning and proper usage, further enhances energy efficiency.
8.2 Tips for Optimizing Energy Usage
To optimize energy usage, always preheat the oven only when necessary and use the correct bakeware size. Keep the oven door closed during cooking to retain heat. Use the timer to avoid overcooking and turn off the oven a few minutes early, allowing residual heat to finish cooking. Regular cleaning and proper maintenance also improve efficiency. These practices help reduce energy consumption and lower your utility bills.
Warranty and Customer Support
The GE Self-Cleaning Oven comes with a comprehensive warranty program, ensuring coverage for parts and labor. For assistance, GE offers dedicated customer support through phone, email, and online resources.
9.1 Overview of the Warranty Program
The GE Self-Cleaning Oven is backed by a comprehensive warranty program that covers parts and labor for a specified period. The warranty ensures protection against manufacturing defects, providing peace of mind. Registration is required to activate the warranty, and terms vary depending on the model and region. For detailed information, refer to the warranty documentation provided with your oven purchase. GE stands behind the quality of its products.
9.2 Contacting GE Customer Service
For assistance with your GE Self-Cleaning Oven, contact GE Customer Service through their official website or toll-free number. Representatives are available to address inquiries, provide troubleshooting support, and assist with warranty claims. Visit the GE Appliances website for contact details, live chat options, and a comprehensive support center with FAQs and user manuals. Prompt and reliable service ensures your cooking experience remains seamless.
The GE Self-Cleaning Oven offers a blend of innovation, efficiency, and convenience. By following this manual, you’ll maximize its performance and enjoy a superior cooking experience.
10.1 Final Tips for Getting the Most Out of Your Oven
To maximize your oven’s performance, clean it regularly, store food properly, and adjust cooking times for dish size. Use compatible cookware for even heating and schedule annual professional check-ups. Explore smart features for enhanced control and maintain the oven’s exterior. Proper care ensures longevity, efficiency, and consistent results. Happy cooking!