
The Exposure Triangle—aperture, shutter speed, and ISO—forms the foundation of photography, controlling light intake and image quality․ Mastering these elements ensures perfectly balanced exposures every time․
Understanding Aperture, Shutter Speed, and ISO
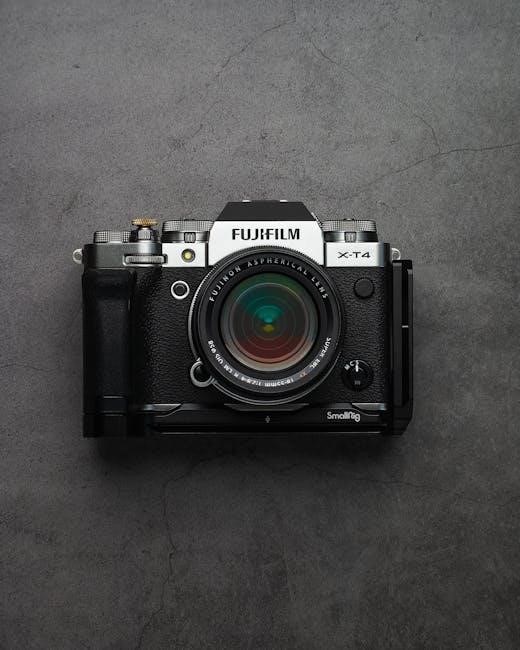
The Exposure Triangle consists of three fundamental elements: aperture, shutter speed, and ISO․ Aperture refers to the lens opening that controls light intake, measured in f-stops․ Shutter speed is the duration the camera’s shutter remains open, affecting motion and exposure․ ISO determines the camera’s sensitivity to light, impacting image noise․ Together, these components balance light entry, enabling photographers to achieve desired effects․ A higher aperture (smaller f-stop) focuses on depth of field, while faster shutter speeds freeze motion․ Lower ISO minimizes noise, ideal for bright conditions․ Using an aperture, shutter speed, and ISO chart helps visualize these relationships, aiding photographers in making informed decisions for optimal results in various lighting scenarios․

Aperture in Photography
Aperture refers to the lens opening that controls light intake, measured in f-stops․ A lower f-stop means a larger aperture, allowing more light and a shallower depth of field․
How Aperture Controls Light and Depth of Field
Aperture regulates the amount of light entering the camera by adjusting the lens opening, measured in f-stops․ A smaller f-stop value (e․g․, f/2․8) means a larger aperture, allowing more light and creating a shallower depth of field, which blurs the background․ Conversely, a larger f-stop (e․g․, f/16) results in a smaller aperture, letting in less light and producing a deeper depth of field, keeping more of the image in focus․ This control enables photographers to balance light intake with creative focus effects, making aperture a critical element in achieving desired visual outcomes in various shooting scenarios․

Shutter Speed in Photography
Shutter speed controls the duration light reaches the sensor, freezing or blurring motion․ Faster speeds capture sharp images, while slower speeds create artistic blur, enhancing creativity in photography․
Mastering Motion and Exposure with Shutter Speed
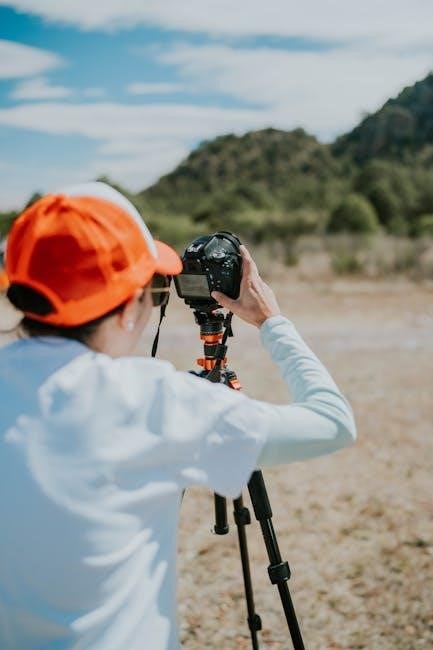
Shutter speed is crucial for controlling motion and exposure in photography․ A faster shutter speed, such as 1/500th of a second, freezes action, ideal for sports or wildlife․ Slower speeds, like 1 second, create motion blur, adding dynamism to images․ Properly balancing shutter speed with aperture and ISO ensures well-exposed photos․ Using a shutter speed chart helps photographers predict outcomes, whether capturing sharp details or artistic effects․ Experimenting with different speeds enhances creativity and technical skills, making it a fundamental tool for achieving desired visual effects in various lighting conditions․

ISO in Photography
ISO determines light sensitivity, with lower values (ISO 100) ideal for bright conditions and higher values (ISO 6400) suited for low light, though risking noise․
Understanding ISO Sensitivity and Noise
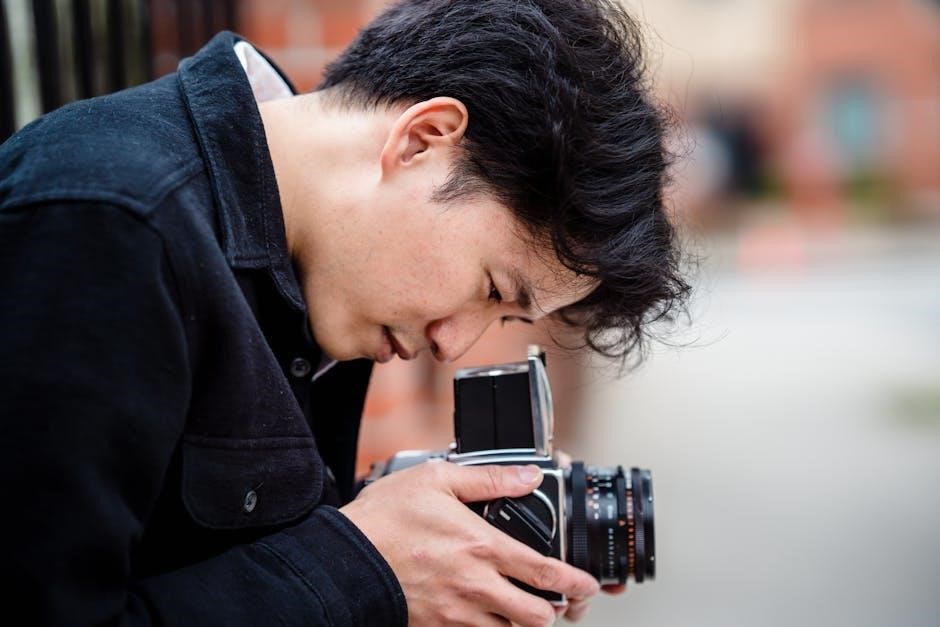
ISO sensitivity adjusts your camera’s light capture, with lower values (ISO 100) suited for bright conditions and higher values (ISO 6400) for low light․ However, increasing ISO introduces noise, degrading image quality․ Noise appears as grain or pixelation, especially in shadows․ Modern cameras minimize this, but it’s still a trade-off to consider․ Using an aperture, shutter speed, and ISO chart helps balance these settings effectively․

Using an Aperture, Shutter Speed, and ISO Chart
An exposure chart simplifies balancing aperture, shutter speed, and ISO, ensuring optimal light capture and image quality across various lighting conditions and creative goals effectively․
A Practical Guide to Exposure Charts
An exposure chart is a handy tool for photographers, providing a visual guide to balance aperture, shutter speed, and ISO․ It helps in understanding how adjustments impact the overall image․ By referencing the chart, photographers can quickly determine the ideal settings for various lighting scenarios, ensuring proper exposure․ The chart often includes examples of how different combinations affect depth of field, motion blur, and noise levels․ This practical resource is particularly useful for beginners learning to master manual mode and for experienced photographers seeking consistency․ Using a chart streamlines the process, making it easier to achieve desired results efficiently․
Creating Your Own Aperture, Shutter Speed, and ISO Chart
Design a custom chart by organizing aperture, shutter speed, and ISO values in a table․ This tool helps visualize their interactions and ensures balanced exposures in various lighting conditions․
Customizing a Chart for Better Photography
Customizing an aperture, shutter speed, and ISO chart allows photographers to tailor settings to their creative vision and shooting conditions․ Start by listing aperture values (e․g․, f/2․8 to f/16) and pair them with corresponding shutter speeds and ISOs․ Organize the data in a table format for clarity․ Highlight common combinations for specific scenarios, such as low-light portraits or fast-moving sports․ Add notes on how adjustments impact depth of field, motion blur, and noise․ Use color coding or symbols to emphasize key settings․ This personalized guide ensures quick reference during shoots, helping you achieve consistent and desired results․ Regularly update the chart as your skills and preferences evolve․
Common Mistakes to Avoid When Using Exposure Charts
Over-reliance on charts without understanding the basics can hinder creativity․ Ignoring lighting changes and failing to adjust settings for specific scenes are common errors to avoid for optimal results․
Tips for Effective Use of Aperture, Shutter Speed, and ISO
Start by using an aperture, shutter speed, and ISO chart to visualize relationships between settings․ Practice with simple scenes to understand how each adjustment impacts the image․ Adjust one element at a time to isolate effects․ For sharp images, prioritize lower ISOs and faster shutter speeds․ Use aperture priority mode to control depth of field while letting the camera manage other settings․ Regularly review your photos to refine your technique and adapt to different lighting conditions․ Combining practical experimentation with chart guidance will enhance your mastery of exposure control․
Advanced Techniques for Aperture, Shutter Speed, and ISO
Master techniques like panning, intentional blur, and low-light ISO optimization․ Use aperture for creative depth, shutter speed for motion effects, and ISO for noise-free results;
Mastering Manual Mode and Creative Photography
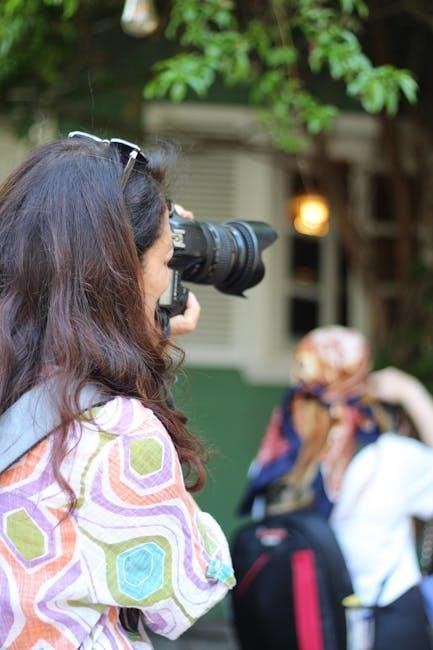
Manual mode unlocks creative potential by granting full control over aperture, shutter speed, and ISO․ By mastering these elements, photographers can achieve precise control over lighting, depth, and motion․ Aperture determines depth of field, shutter speed captures or freezes motion, and ISO adjusts sensitivity to light․ Using a chart to balance these settings ensures consistent results․ Experimenting with manual mode allows for artistic expression, such as intentional blur or sharp focus․ Practice and patience refine skills, enabling photographers to adapt to various lighting conditions and create visually stunning images with ease and confidence․
Mastering the Exposure Triangle—aperture, shutter speed, and ISO—empowers photographers to capture stunning images․ Using charts to balance these settings ensures consistent results and elevates creative photography to new heights․
Putting It All Together for Stunning Photos
Mastery of the Exposure Triangle—aperture, shutter speed, and ISO—is key to capturing breathtaking images․ By balancing these elements, photographers achieve perfect exposure and creative control․ Aperture regulates depth of field, shutter speed freezes or blurs motion, and ISO adjusts light sensitivity․ Using a chart to harmonize these settings ensures consistency and precision, especially in varying lighting conditions․ Experimentation and practice refine skills, allowing photographers to express their vision effectively․ Avoiding common mistakes, like overreliance on auto settings, enhances results․ Customizing charts for specific scenarios further elevates photography․ Ultimately, understanding and applying these principles leads to stunning, professional-quality photos that tell a story or evoke emotion․